10th Jul 2018
How To Make Rainbow Jelly!
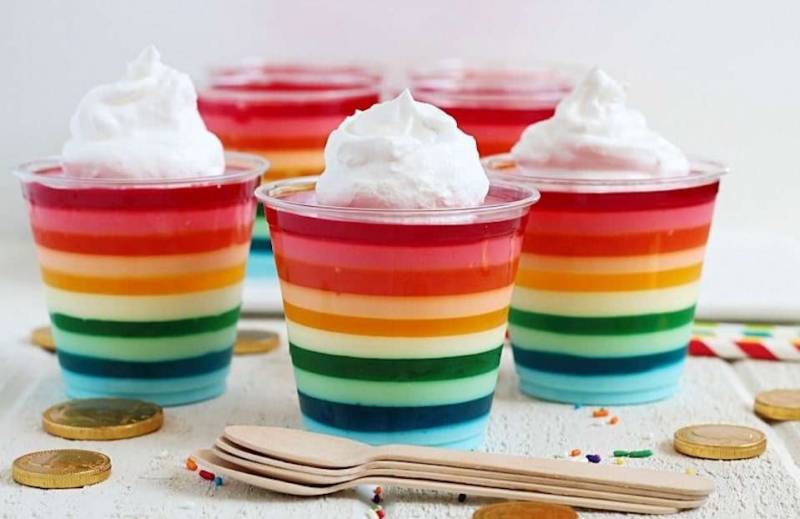
Looking for fun snacks and desserts for your kids’ party? Why not create a stunning rainbow jelly with princess and superhero-inspired moulds and colours.
 Everyone knows that jellies are a must for kids parties! Even Henry VIII was a fan of Jelly as party food, and Jelly and ice-cream has been a kids’ party staple for decades. However, to mix things up and bring the old favourite, Jelly, into the modern day, we suggest going big, bold, and beautiful (the more colours the better!).
Today we want to share with you our best rainbow jelly recipe that will make every kid at your party ask for more! Rainbow jellies are the perfect light snack or dessert for your kids’ party – and yes, they are extremely easy to make! It is definitely a lot of fun to prepare, and the whole process doesn’t take too long either.
The only ingredients you really need are different flavours of jelly (which you can get from any supermarket) lots of bowls and cups to serve.
We recommend you prepare your rainbow jellies the day before the party, as the final mix must be cooled down for a while. Even though this recipe is not too difficult, there are dangerous steps that can harm your underage collaborators – instead, let them pick the order by which you pour the colours!
Instructions for making the Jelly
1. Mix your first jelly packet according to instructions. It is crucial that you follow strictly the measurements – too much water and you won’t get a sturdy result. The instructions are usually the same, no matter what brand or flavour you pick: pour the jelly powder into boiling water and then mix it until dissolved. If you’re using cubes, then why not let the kids pull them apart and pop them into the bowl – this is a fun (and easy!) job.
2. Once mixed, pour it into your mould. These can be normal cups or any other funny-shaped containers!
3. Place your first flavoured jelly in the fridge for 30 minutes, or until mostly set. Note: don’t let it get a completely firm consistency as you will need to set more layers on top and you don’t want them sliding off of each other because they’ve set separately.
4. While you wait for your first flavoured jelly to sit, repeat the process for other flavours. You should let all colours cool, and only then you put all the colours into the same mould when the previous one is just sturdy enough – otherwise you’ll have a mush rather than a rainbow.
5. Repeat this steps as many times as you want, depending on how colourful you want your rainbow jelly to be! Don’t forget to let it cool down during the night ready for the big day!
The result? A delicious snack, and very happy kids!
Tip: For a princess-themed party, you can go for different tones of pink and princess-inspired moulds; you can even add fruits on top if needed. For an action themed party, why not use the colours of their favourite superheroes? For example, you can make red and blue jelly for all the spiderman fans attending your event.


Login to My DNA Kids
Please enter your booking reference and password below. You can find these on your booking confirmation email.
Forgotten Password
Please enter your email address below...
Forgotten Password
Thank you. We have emailed you details of how to reset your password if your email address matches one of our parties.
If you can't find the email, please check your spam folder.


